 Our last meeting was on 27th Feb 2020, with Les Symonds as demonstrator. Before the next meeting, coronavirus struck and we were in some form of lockdown or restrictions until recently.
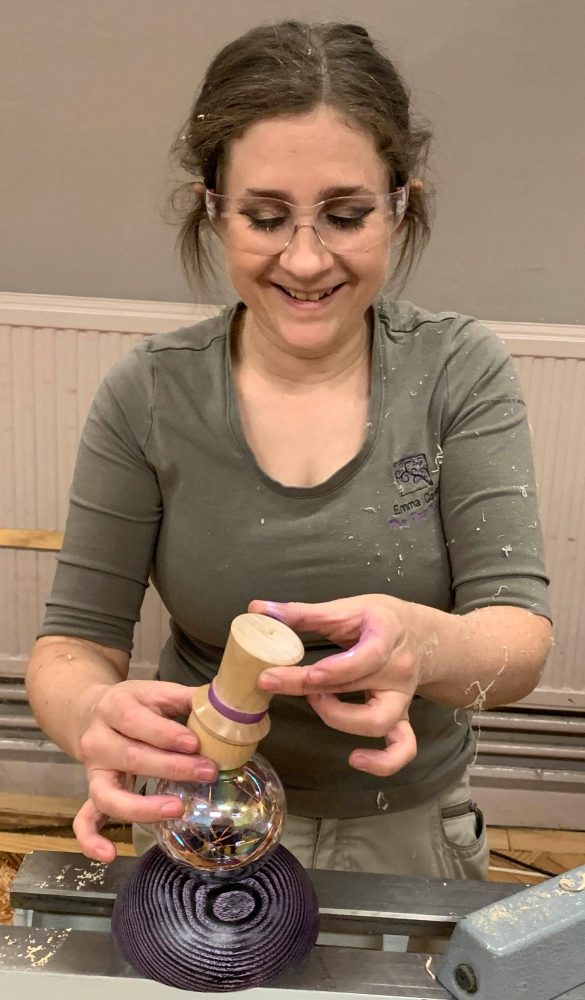
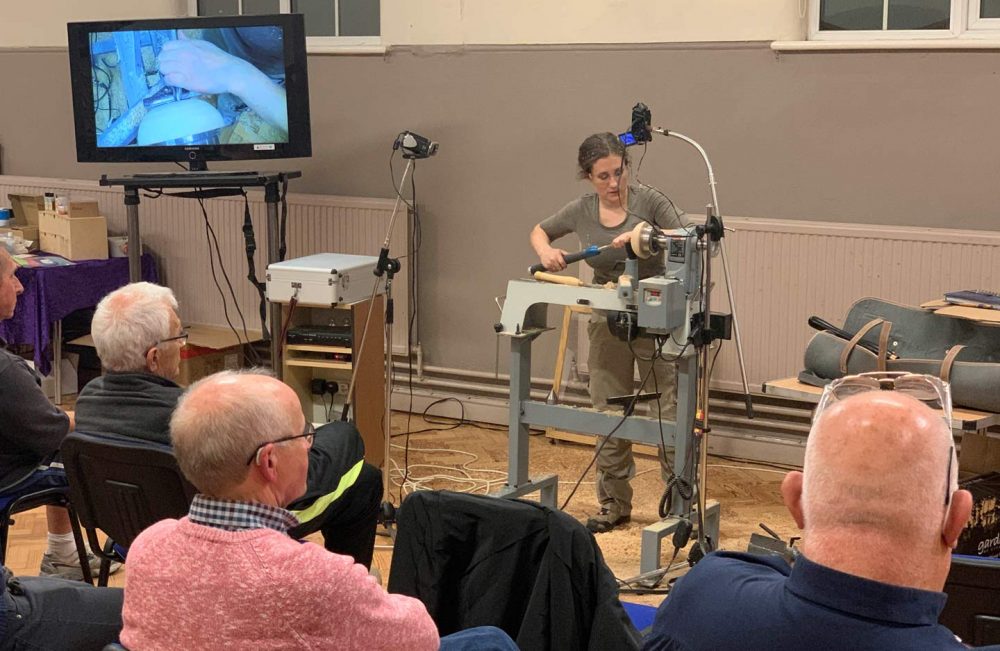
Tonight’s demonstrator (23rd Sept 2021) was Emma Cook (“The Tiny Turner”) and her topic for the evening was a Christmas snowman — but not just the “normal” snowman of two or three beads and a top hat. This was an Emma-special snowman with flashing lights inside a glass body!
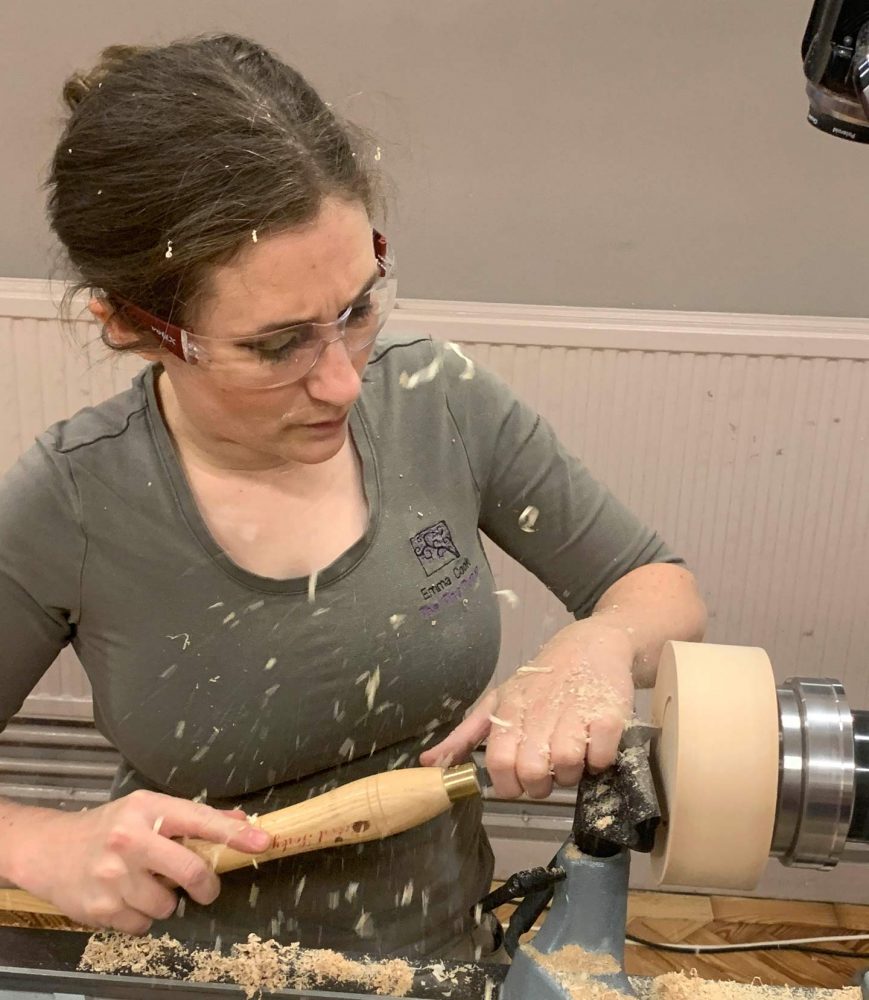
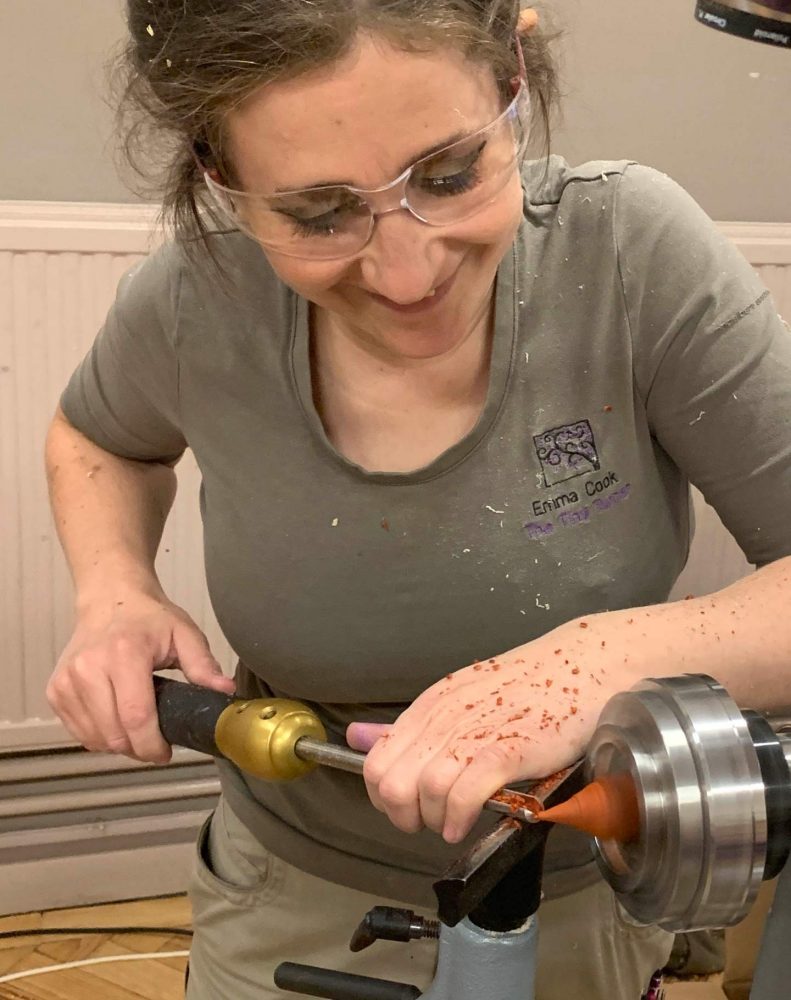
The first task was to turn a square piece of Ash (about 7” x 3”) into a base for the snowman to sit on. Emma’s preference is to turn the square into the round between centres, using a stebcentre to drive the work. A 3/8 bowl gouge was used to get the piece into shape using a pull cut. The finishing cut was a push cut, leaving a clean surface requiring little sanding.
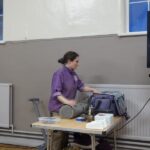
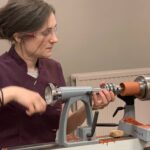
 A spigot was turned on what would become the top of the base and the blank was mounted in the chuck. Emma was using an Axminster SK100 chuck with “C” jaws. The jaws have a ridge / tooth on the surface nearest the workpiece and Emma’s preference is to turn a shallow dovetail to assist gripping in the jaws.
That done, the base of the piece was trued up and a recess constructed to receive the battery pack for the lights and provide a holding point for the next stage. The recess needs to be about ½” to accommodate the battery pack and a piece of hook and loop to hold it in place.
 The outer portion of the base was dished slightly to ensure that it sat on a flat surface without wobble. The inside of the recess was cleaned up using the side of a parting tool as a scraper.
The base was sanded to 240 grit and then treated with Chestnut Cut ‘n’ Polish. Using the product reduces the volume of dust and achieves a great finish.
She was asked why she didn’t use Yorkshire Grit and said she found Cut ‘n’ Polish darkened the wood less than Yorkshire Grit — which can have a significant darkening effect on pale timbers.
 A 4mm hole was then drilled straight through the blank; it would be used to thread the lights into the snowman body at a later stage. When the base had been polished, it was turned over and held by the recess in the chuck.
The top was then turned to a hemisphere shape using a combination of pull, push and a shearing scrape with the bowl gouge. For the shearing cut, Emma grinds a gouge so that the lower edge is longer than the upper edge.
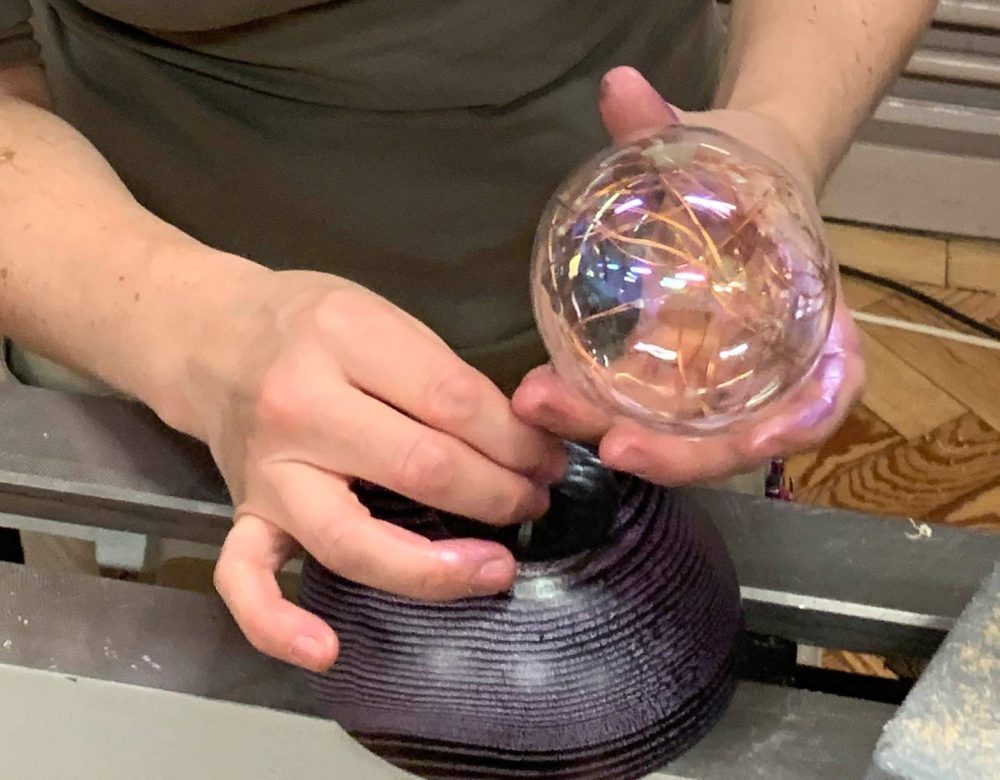
The middle of the base was then scooped out to accommodate the glass globe of the snowman body. The neck of the globe was accommodated in a hole that was big enough to provide some wiggle room to avoid any movement of the wood (which can cause the glass to shatter).
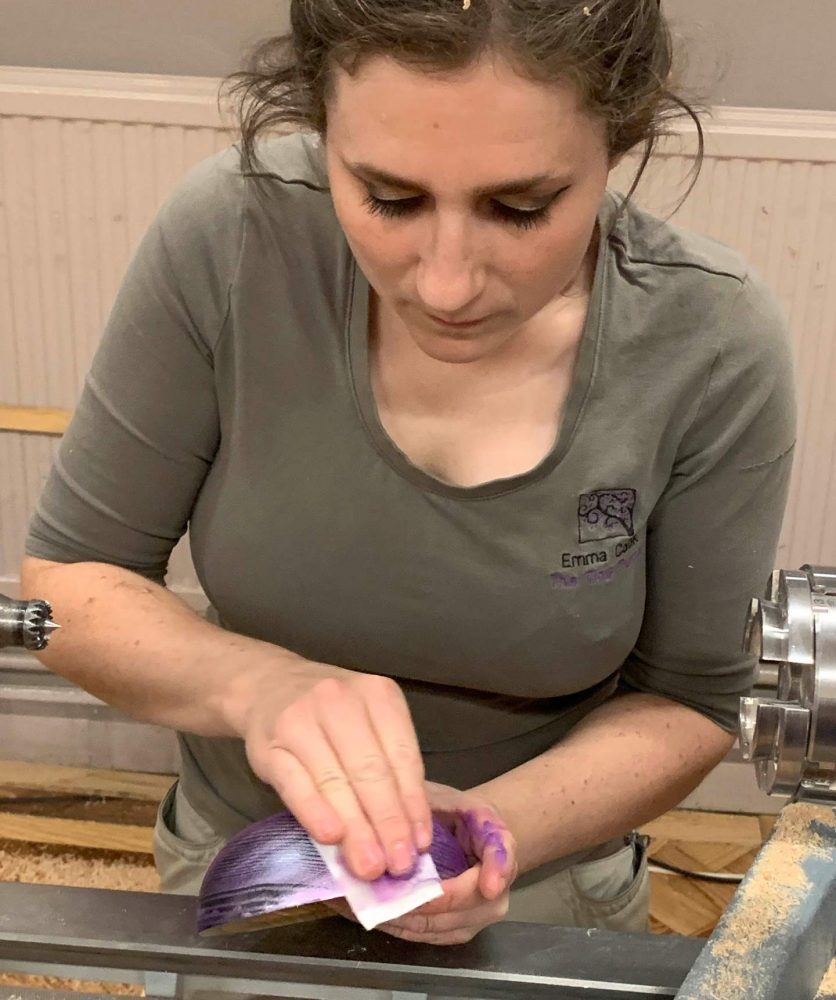 The base was then sanded and brushed with a brass brush to clean out the grain before spraying with ebonising lacquer. When the lacquer was dry, a coat of rainbow embellishing wax was applied and then polished off to leave a coat that enhanced the grain of the ash.
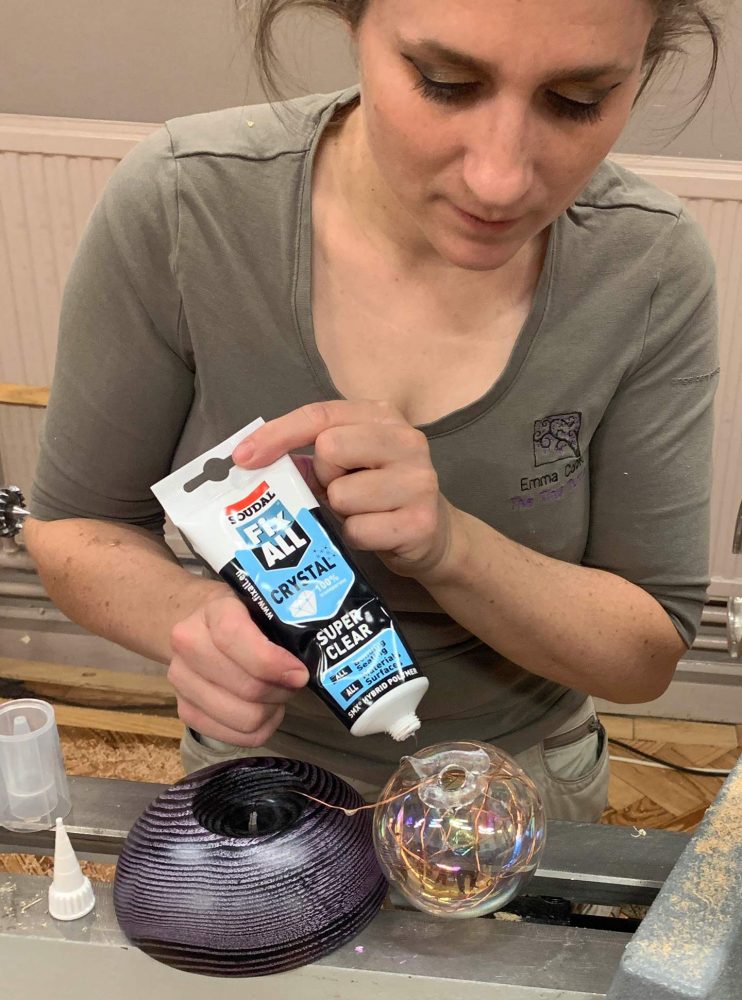
The final task was to insert the string of LED lights into the glass globe and then secure the globe to the base using “Soudal Fix ALL Crystal”. This adhesive is flexible and solvent-free so — allows some movement, does not react with the surface, and dries clear. Any excess adhesive can be trimmed off with a sharp knife. The soldered joint on the lights needs to be tucked into the drilled hole to avoid it touching the surface that the snowman is displayed on. Then it was break time.
 After a cuppa and a biscuit or two, the creation of the head, hat and nose was undertaken. Two pieces of sycamore were used to form the head and hat with a piece of padouk for the nose.
The head was formed by turning a near sphere to the desired size so that the head and body are in proportion. The head needs a shallow hollow cutting out to suit the curvature of the head. After sanding and polishing, the top of the head was parted off but not sanded, since once the hat was attached it would never be seen again.
 The head can be embellished with a carrot shaped nose, which needs a small spigot to attach it to the head. The base of the carrot should be rounded to improve the fit to the head. Eyes and mouth can be added with pen or using Pyrography as desired.
To complete the picture, an oversized top hat was turned to enhance the character of the snowman. The hollow to fit the head can appear over size since the top of the head is not a perfect sphere.
 Once a good fit is achieved, the rim and outside of the hat is shaped. Care is required to avoid a “going through the bottom of a bowl” disaster — producing a hat with a separate rim! The hat was turned with a hat band which was highlighted with a brushed-on coat of the rainbow embellishing wax.
Finally, when the head had been fixed to the body with more of the “Soudal Fix ALL Crystal”, it was time to attach the hat with some hot melt glue — but only when the head was firmly attached to the body.
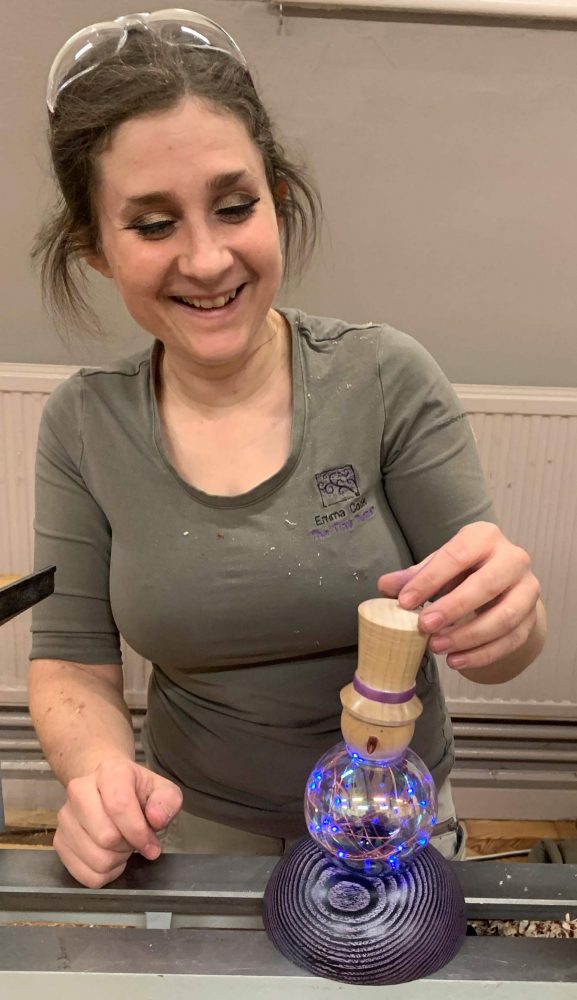 The hat looks great at a slight angle — a jauntier angle can cause issues if it is made of a dense wood by shifting the weight outside the base of the hat and causing the glass to break.
The moral of the fixing is “a little tilt is better than a lot”.
If you were at the Demonstration, we hope you enjoyed it — if you couldn’t be there, we missed you.
Howard Hughes (CNWWA Secretary)
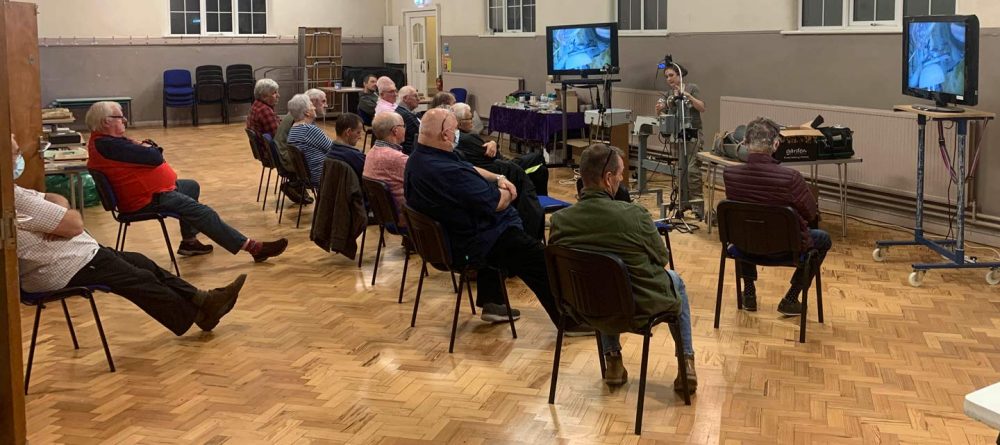


Entirely agree. It was lovely to be back, and what a successful evening it was! Very well organised – well done all.
It was great to be back after so long.
Thanks to Emma for such a good demo, and for giving us slower turners plenty of time to prepare for Christmas.
Looking forward to seeing Steve Heeley’s demo on October 28th.